Introduction
We are all familiar with Cooler Master’s aggression with their ‘Master’ series of products. The Mastercases are very popular for their customizability and modularity. But the Mastercases aren’t exactly cheap, in fact, they are premium offerings. They come with a considerably high price tag which might be out of reach for some budget restricted shoppers and this is where the Masterbox series comes into play.
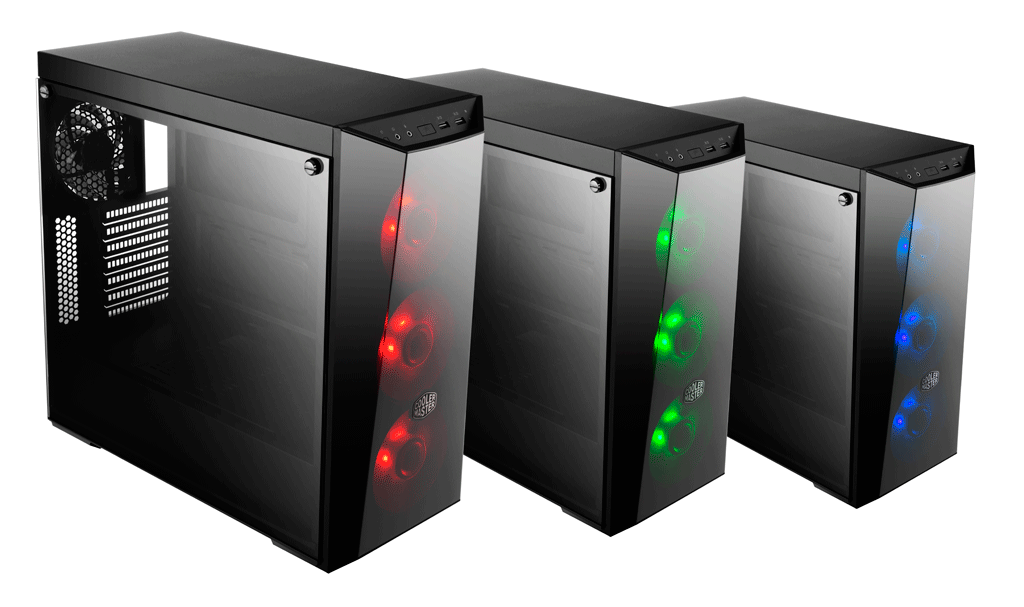
This time around, Cooler Master has launched another iteration to the Masterbox 5, of which they have modestly sent us a unit. We are taking a look at their new Mastercase LITE 5 RGB. To be clear, there is a non-RGB standard edition of this case but we’ll talk about that later.
Overview
At first look, the case has a more premium look than what the price tag suggests. While there are not many cases in this price bracket that come with a tempered glass side panel, this case does. The slightly dark tinted tempered glass covers the full side area leaving nothing hidden. The front ‘Dark mirror’ panel is semi=transparent plastic with a black tint. It seems nice from a distance but as you get close enough the plastic panel is clearly distinguishable, but there’s nothing wrong considering the price tag.
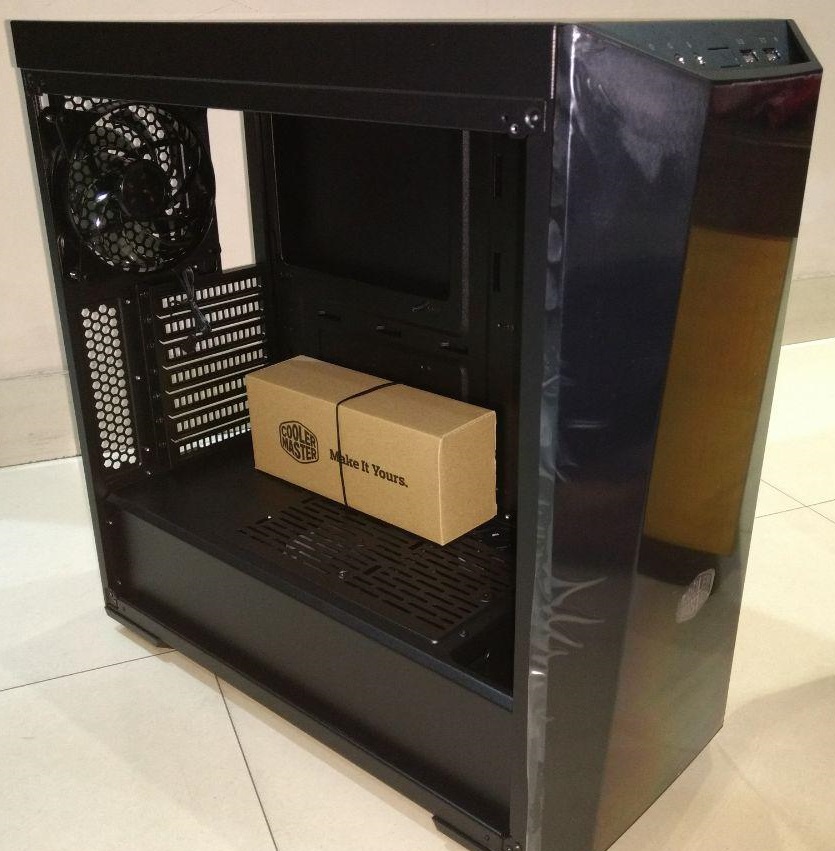
One interesting thing is the fact that the case does come with a PSU shroud and unlike the previous Masterbox, this runs all the way to the right and leaves just enough space for a radiator to be mounted. It does an excellent job in hiding those ugly cables. The shroud has cable routing holes below the motherboard area for internal connections to the case I/O panel. Usual cable routing holes beside the motherboard area are also present as one would expect to see.
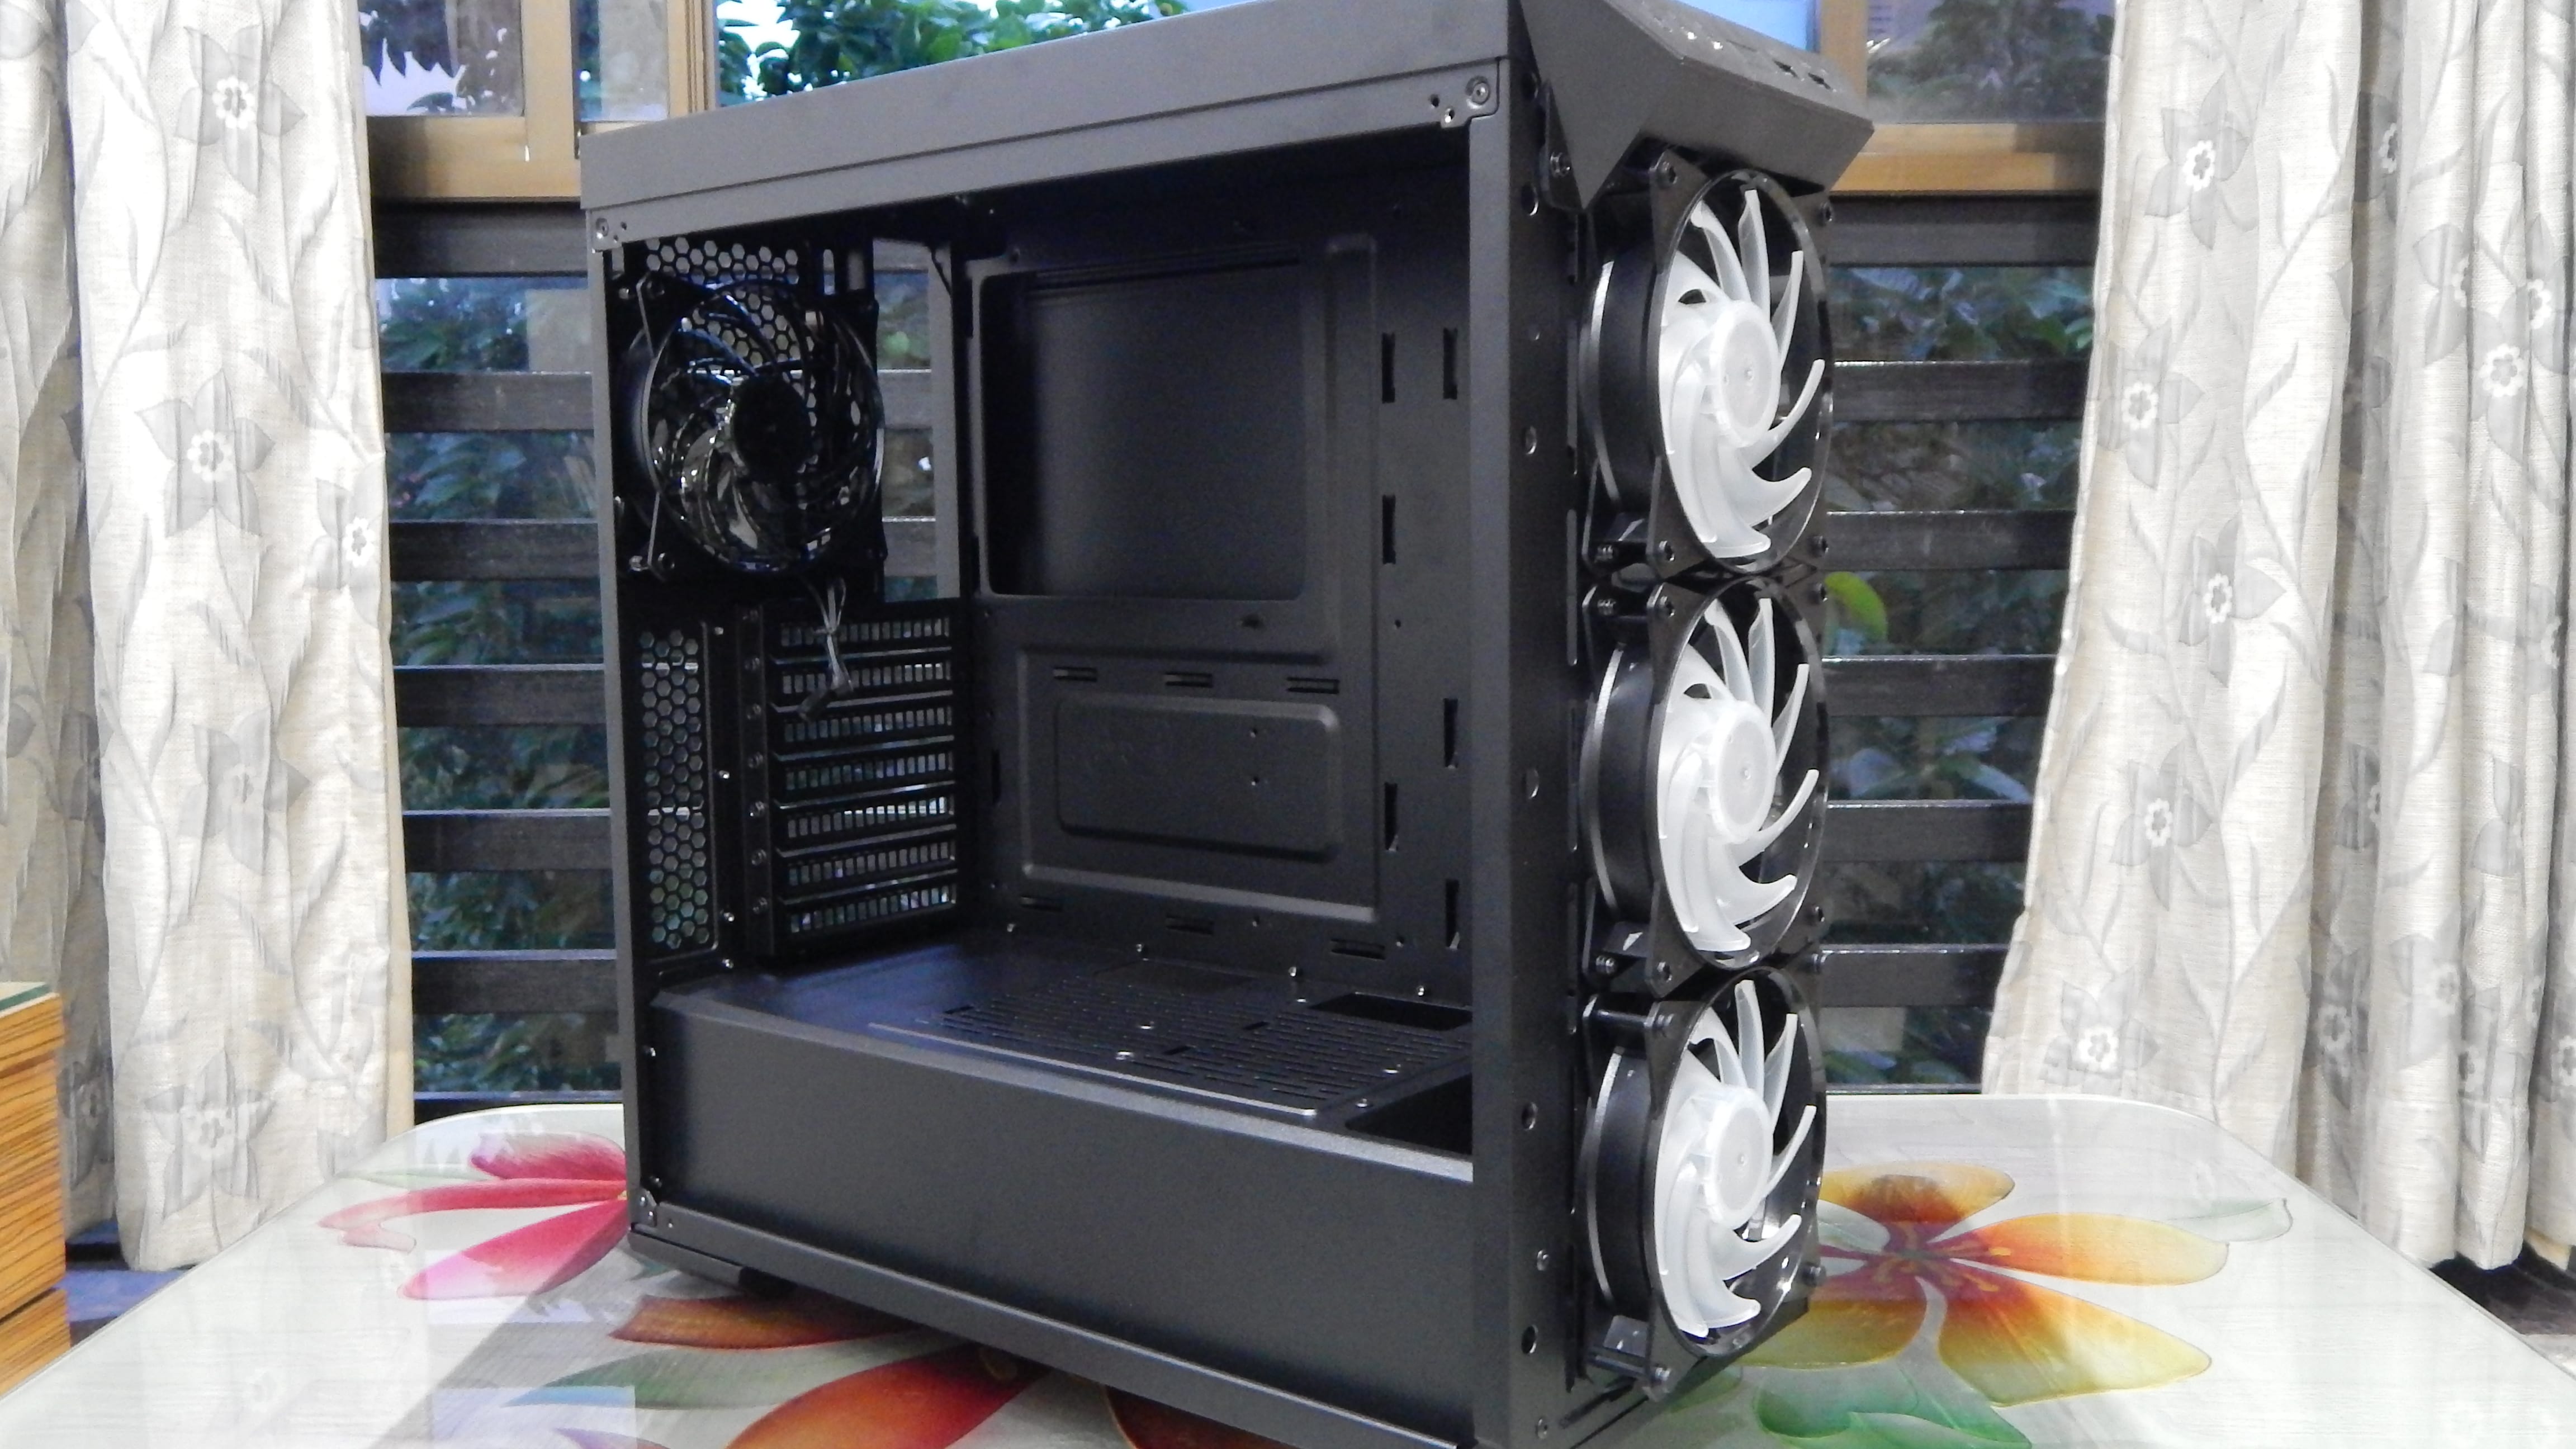
There are four pre-mounted 120mm fans, of which the rear single voltage control fan is transparent and the three front mounted ones are customizable RGB ones. The RGB splitter is pre-provided in the packaging. If you choose to buy the standard edition, then it will only have the rear fan.
Front I/O includes a power and reset switches, two USB 3.0 Type-A ports and the 3.5mm headphone and microphone input jacks. There is also an HDD indicator LED beside the USB ports

In-Depth Analysis
The cable routing holes have adequate space for passing quite a lot of cables, but there are no rubber grommets as we would have liked to see. There is space for two SSD mounts but only one mount is provided. Two more SSDs can also be mounted on the PSU shroud grill as the manual suggests. Cable cutouts on the shrouds are alright but it wouldn’t be too picky to point out that there should have been another cut out to the far left, considering many boards have the HD audio connections on the extreme bottom-left. Not surprisingly, there is no proper space for liquid cooling pumps and building a custom loop is not really suggested (if not quite unorthodox).
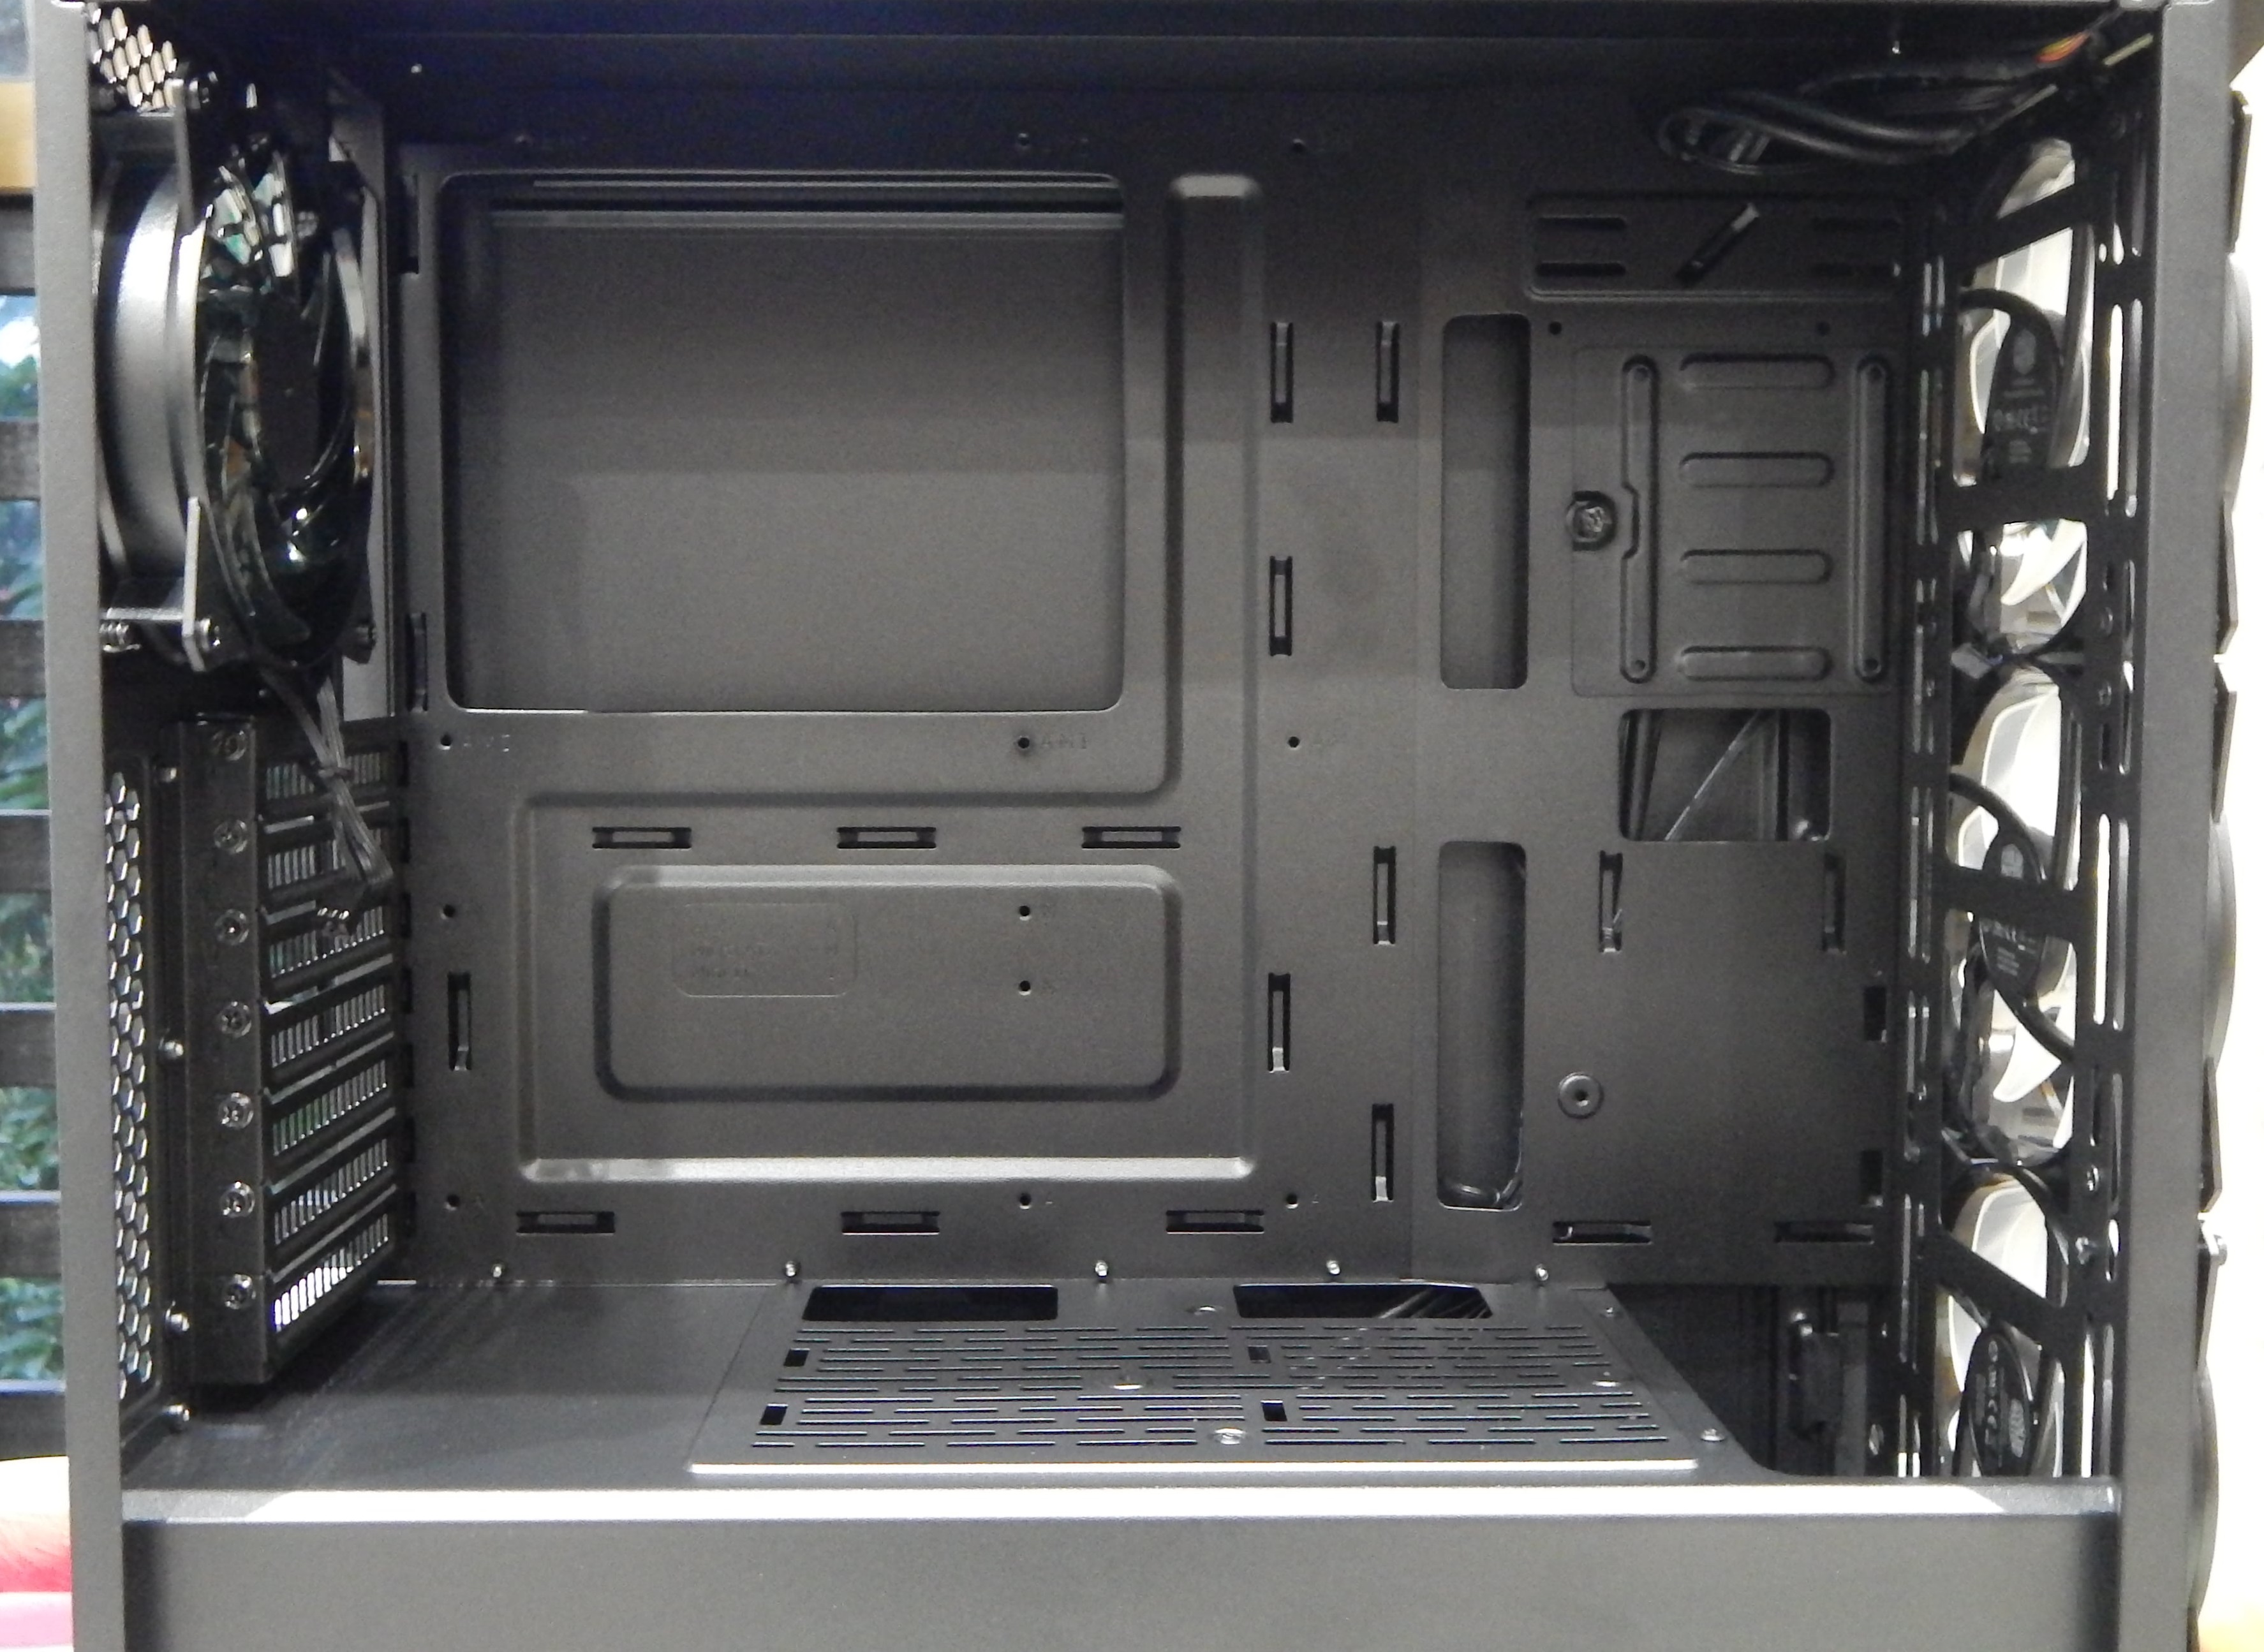
There are no top fan/radiator mounts, the ceiling above the motherboard is just solid metal with no room to breathe. Because of this, it is advisable (due to obvious reasons) to create a linear front-to-back linear airflow. Thankfully, the default configuration of mounted fans is just that and it is better to leave them as they are.
There are air vents located on the bottom and top of the plastic front panel, both surrounded by colored trims. These trims can be changed and Cooler Master does give you three choices: Red, White and of course, black.
Behind the case, a noticeable thing is that although the cable spacing is moderately good as you near the front, behind the motherboard, you get a lot lesser space to work with. Also at the back, we gain access to the internals of the PSU shroud. Inside the shroud towards the left is the 2.5/3.5 inch combo drive bays

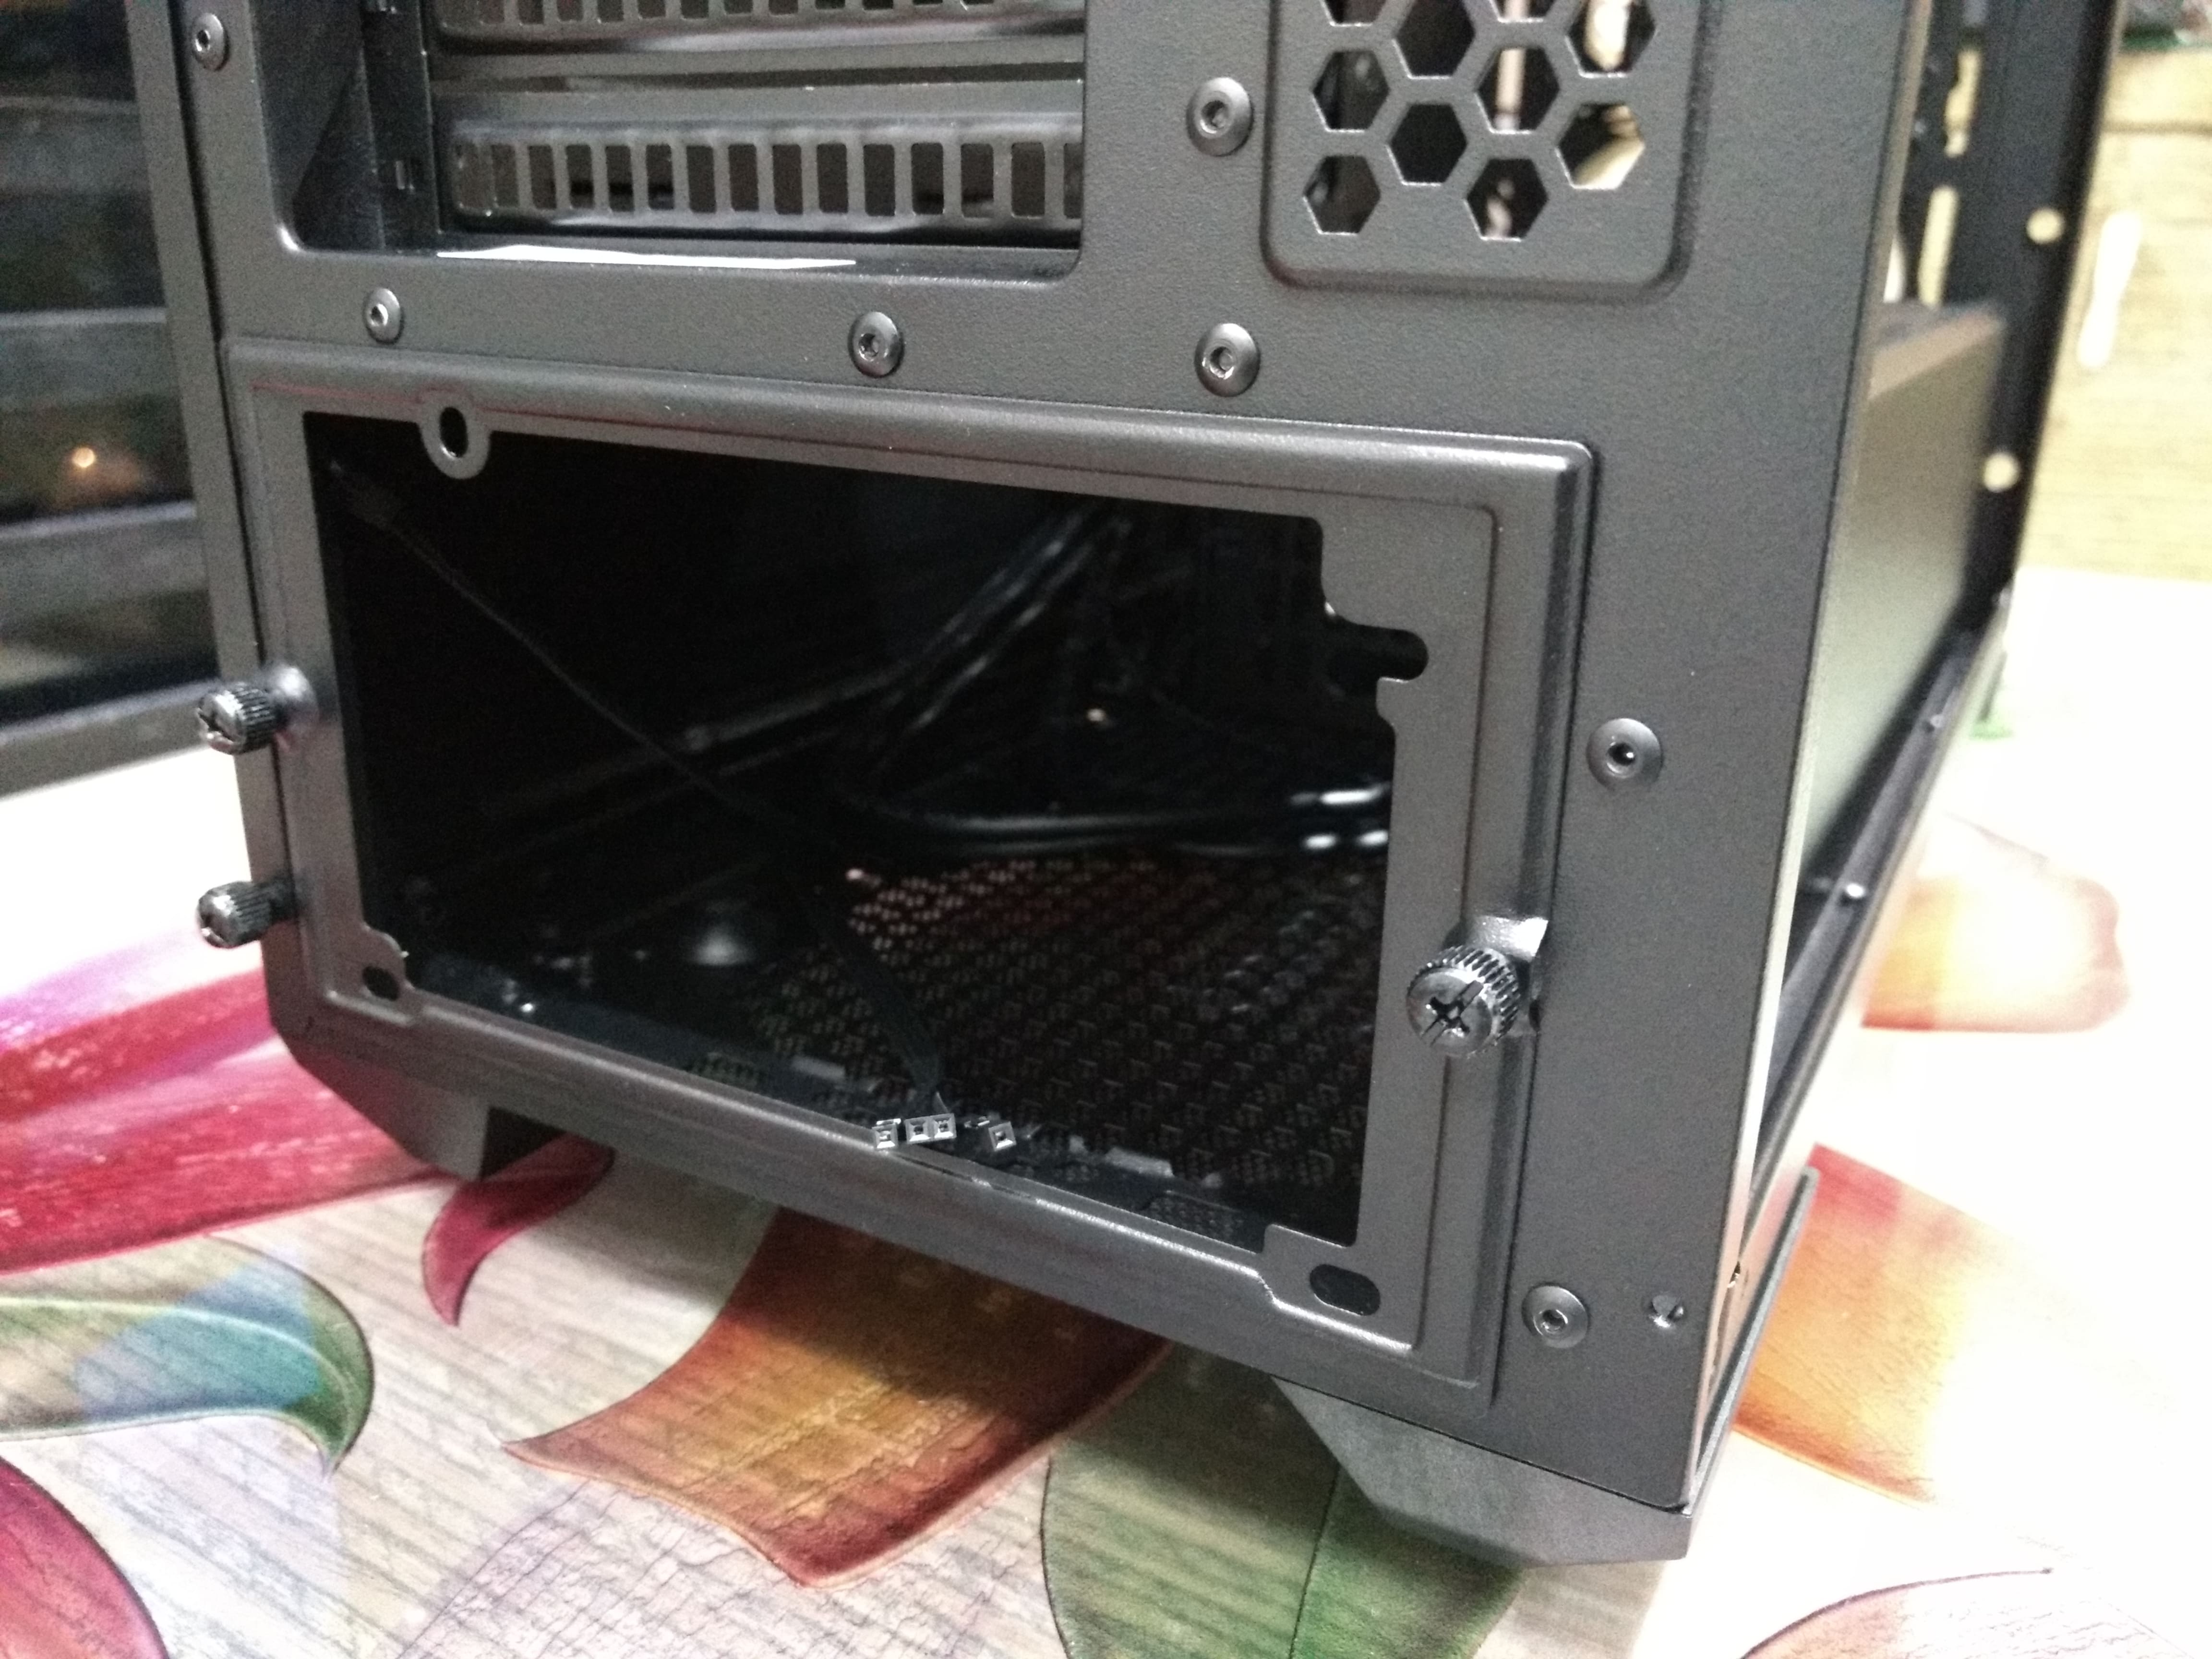
On the back, the removable PSU bracket is a subtle addition, letting you slide the PSU in the case with relative ease. The bracket is secured to the case via two thumbscrews
Build
Space is not really an issue. We put a build inside this case with Cooler Master’s Hyper 212X CPU cooler and a GTX 1070 AMP Extreme on an ASUS Z170-K motherboard, both of them fitting with ease and having enough space to spare. You could also swap out the rear fan for a 120mm radiator and have no issue. The glass is of good quality and doesn’t scratch all that easily. Here it must be mentioned that the standard variant has only an acrylic side panel, which may not be as resistant as the tempered glass.

Yes, we know. The 1070 amp extreme is known for its sag but we should also not overlook how powerful the beast is inside. The sag can be fixed by using one of Cooler master’s very own GPU support brackets which you can buy from their website or any local store or do your very own DIY and make one for yourself.

The build quality is nice and there was no flexing or bending in the chassis as per our tests. The feet are also rigid and provide a respectable height over the surface it is kept on, and there’s a dust filter below the PSU intake as a bonus for those planning to keep it on the floor or carpet.
The side panel is tempered glass and is 4mm in thickness from edge to edge. Yes, it is very glossy and was hard for us to take a pic where there was no reflection possible. We did our best we could to take a pic with Tempered Glass ON.
NOTE–
Sadly, due to our motherboard being a Z170 board, it did not have an RGB header so we won’t be able to give you eyegasmic images of the three front fans on its RGB state. Yes, we should have known this before we started our review but hey, next time we promise that we won’t disapoint you with these boring NON-RGB pics.

Cooling/Temperature
As we mentioned before, there is no top fan in this case, which would surely raise some eyebrows especially of those people who mostly care more about temperature and performance and less of aethestic value.
So we did a temperature test on my very own build featuring an i5 6600k on an Asus Z170-k Motherboard which was getting cooled by a Hyper 212X Air cooler and a GTX 1070 Amp Extreme with both of them running completely on stock and letting the system handle the boost clock speeds.

The Gaming load temperatures were highest while playing Crysis 3, Deus Ex- Mankind Divided and Ghost Recon Wildlands since these 3, in particular, are resource hungry games. The temperatures recorded were not at all bad given I have been using a CPU cooler, the famous Hyper 212X, the same build on an AIO setup would have been completely different with better temperatures since the entire air coming in from the front panels would have kept the CPU even cooler which reached 70-74 while stress test.
Conclusion
With a tempered glass side panel and attractive aesthetics, Cooler Master’s Masterbox LITE 5 surely looks a lot more premium than what it asks for. It would not be wrong to call it a benchmark of what other companies should offer in this price bracket. Although the case surely has its share of shortcomings, we never felt that it skimped on any essential features. Also, considering it’s placement in the market at an almost wow price of Rs. 4999 or $45, it is very hard to suggest anything else if you’re in the market for a new case but don’t have the fortune to spend.
Cooler Master kept a particular audience in mind when they made this, we did have a talk with them and they stated that they had new comers and entry-level gamer’s in mind while making this cabinet. They wanted to be true to the aesthetic of the build while giving things which made 2017 so special for almost everyone- yes you are right- RGB and Tempered glass side panel.
Pros
- Good price tag of 4999 INR
- Inclusion of 4 Fans, 3 of them being RGB
- Tempered Glass 4mm thick side panel
- Inclusion of 1 to 3 RGB splitter
- Semi Transparent Dark front panel
- Easy installation for New PC-Builders
Cons
- Included molex to 3 x fan cable which makes the fans in the front spin at max speeds
- Only one proper SSD mounting plat
- Space that is given on top and bottom inlet near the front fans are small
- No Top Fan
Rating
For the price of mere 4999 INR, Cooler Master has entered in a very comfortable price segment where entry-level budget consumers find their peace. The inclusion of RGB fans and tempered glass not only makes the deal better but in the long run helps to keep the asthestics nice and pretty. The temperatures recorded even with no top fan and the CPU running on air cooler shows the potential of this cabinet and that if there was one this case would have been the ultimate cabinet which people would have bought eyes closed and at a first glance but sadly that one difference is enough to keep the cabinet at its toes along with others.
Tech Syndrome Rates it – Silver